Running Zephyr on LiteX/VexRiscv on Avalanche board with Microsemi PolarFire FPGA
This section contains a tutorial on how to build and run a shell sample for the Zephyr RTOS on the LiteX soft SoC with an RV32 VexRiscv CPU on the Future Electronics Avalanche Board with a PolarFire FPGA from Microsemi (a Microchip company) as well as in the Renode open source simulation framework.

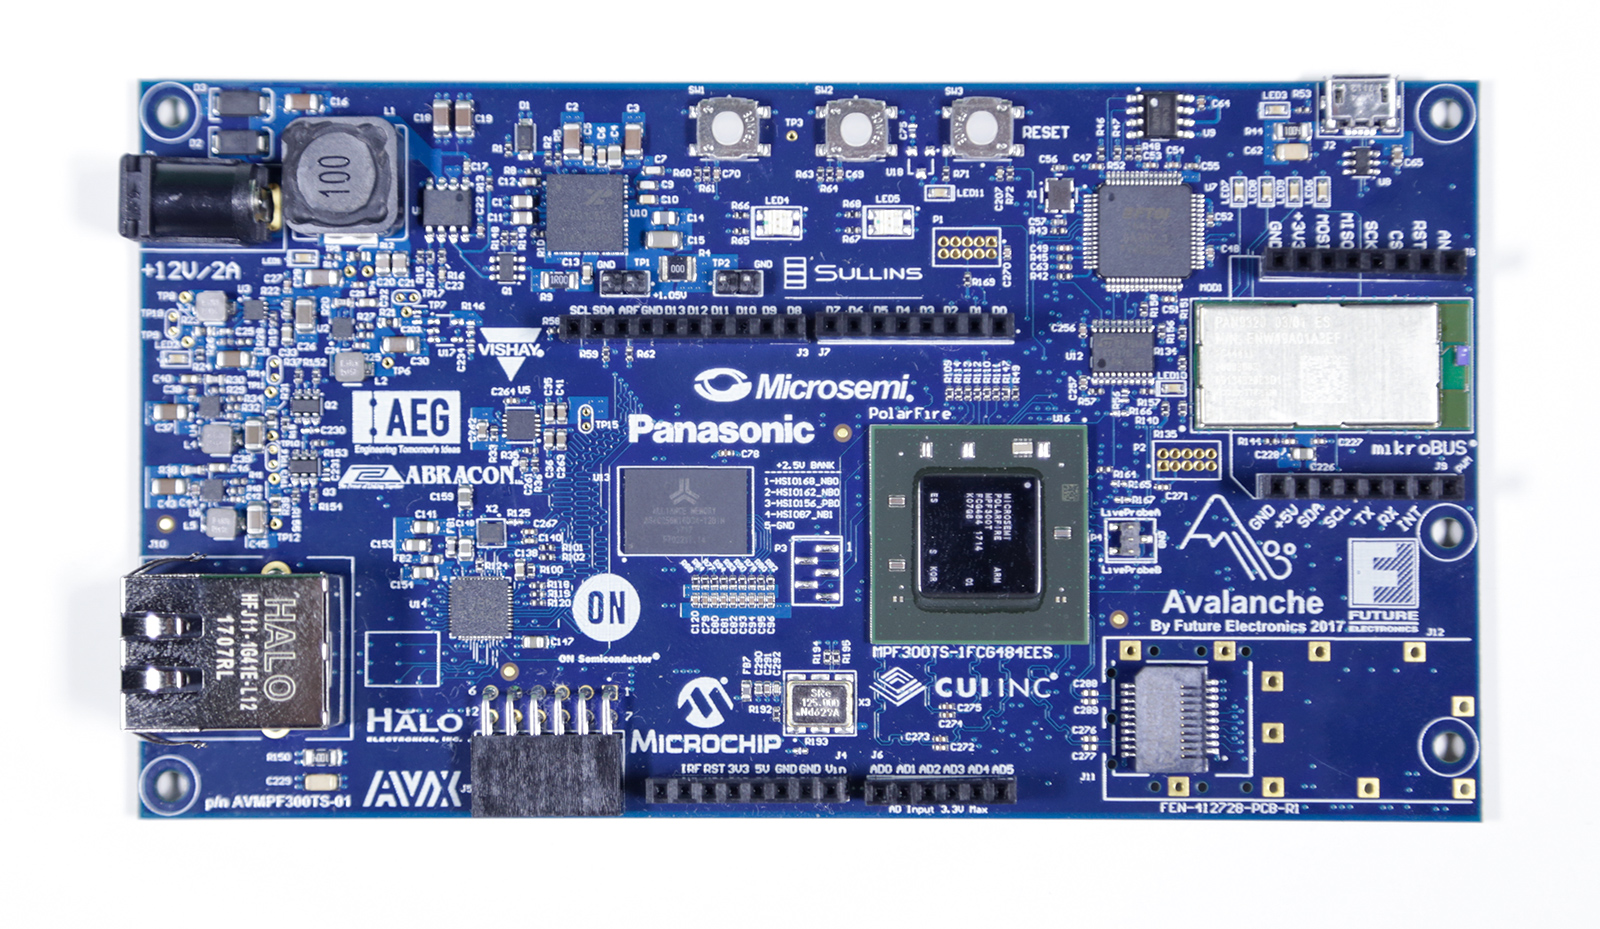
Fig. 2 The Future Electronics Avalanche board - top.
Building your system
Zephyr
First, prepare your environment and get the Zephyr RTOS sources.
If you want to skip building Zephyr manually, you can download a precompiled ELF file and binary file.
Building a shell sample
Generate the project build files:
cd samples/subsys/shell/shell_module
mkdir build
cd build
cmake -DBOARD=litex_vexriscv ..
Build it:
make -j $(nproc)
As a result, you should find zephyr.elf and zephyr.bin in the zephyr folder.
Running
Preparing the platform
Loading Zephyr
Running Zephyr
Now you can use the UART window to interact with the shell, e.g.:
uart:~$ help
Please press the <Tab> button to see all available commands.
You can also use the <Tab> button to prompt or auto-complete all commands or its subcommands.
You can try to call commands with <-h> or <--help> parameter for more information.
Shell supports following meta-keys:
Ctrl+a, Ctrl+b, Ctrl+c, Ctrl+d, Ctrl+e, Ctrl+f, Ctrl+k, Ctrl+l, Ctrl+u, Ctrl+w
Alt+b, Alt+f.
Please refer to shell documentation for more details.

uart:~$ kernel version
Zephyr version 1.14.0